Deploy a react app in Kubernetes
Be sure to check out
Kubernetes Overview: Part-1 [ Basics of Kubernetes and its components]
Kubernetes Overview: Part-2 [ Kubernetes Objects ]
In the previous part of this series, we covered Kubernetes Objects like Pod, Deployment, Service, Ingress, Ingress Controller. As promised, this part will start with the hands-on bit!
Install kubectl
I assume you have installed docker already. So, I won't be covering that here
kubectl -- the kubernetes command-line tool that enables you to run commands against kubernetes clusters. You can deploy, inspect and manage cluster resources.
Whip open your favourite terminal and install kubectl using homebrew.
brew install kubectl
Once this is done, try checking cluster info using kubectl
kubectl cluster-info
This should give you a message saying kubectl is not able to find the cluster.

But, how to run a kubernetes cluster locally? minikube to the rescue!.
Install minikube
minkube helps you to work with kubernetes locally. You could start a kubernetes
This should only be used for learning and setting up the local environment and NOT for production!
brew install minikube
After doing this, you can bring local kubernetes up by simply running
minikube start
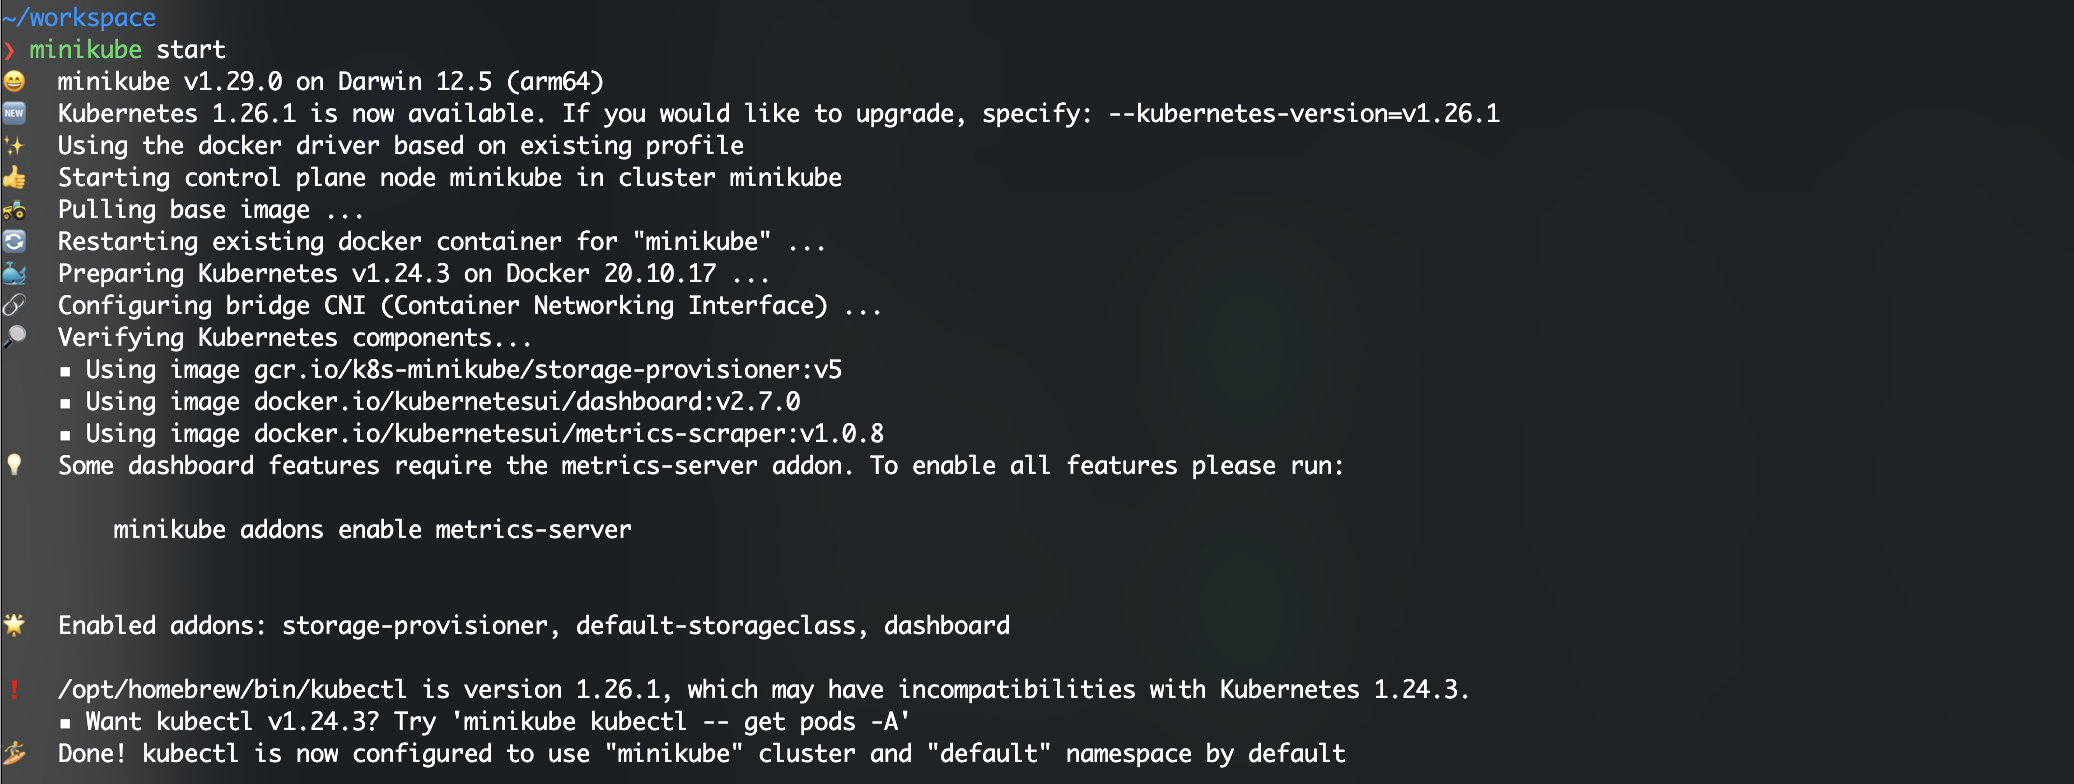
You should see something like -- Done! kubectl is now configured to use "minikube" cluster and "default" namespace by default
Now, if you try to get cluster-info using kubectl you should be able to see some results.

There you go! You have a running cluster set up in no time!
minikube has a dashboard which is a web-based Kubernetes user interface. To enable it, you would have to enable metrics-server. ( Without this the dashboard pod keeps crashing )
minikube addons enable metrics-server
To run the dashboard
minikube dashboard --url

You get a URL for the dashboard, just paste it into your favourite browser. If you exit the process, you won't be able to view the dashboard anymore

Deploy React application
Now that we have minikube and kubectl ready with us, it is time to deploy something to it. Don't worry! I promise this won't take long.
Since the goal of this part of the series is to get you to deploy an application and access it, I have chosen the easiest one possible. You can create a sample react app and have it running with just a few commands.
Create React application
brew install node
npm install -g npx
Run the above commands to install node and npx using which we will create our react app.
mkdir k8s-react-app && cd k8s-react-app/
mkdir k8s
npx create-react-app sample-react-app
This will create a react app ready to be launched.
cd sample-react-app/
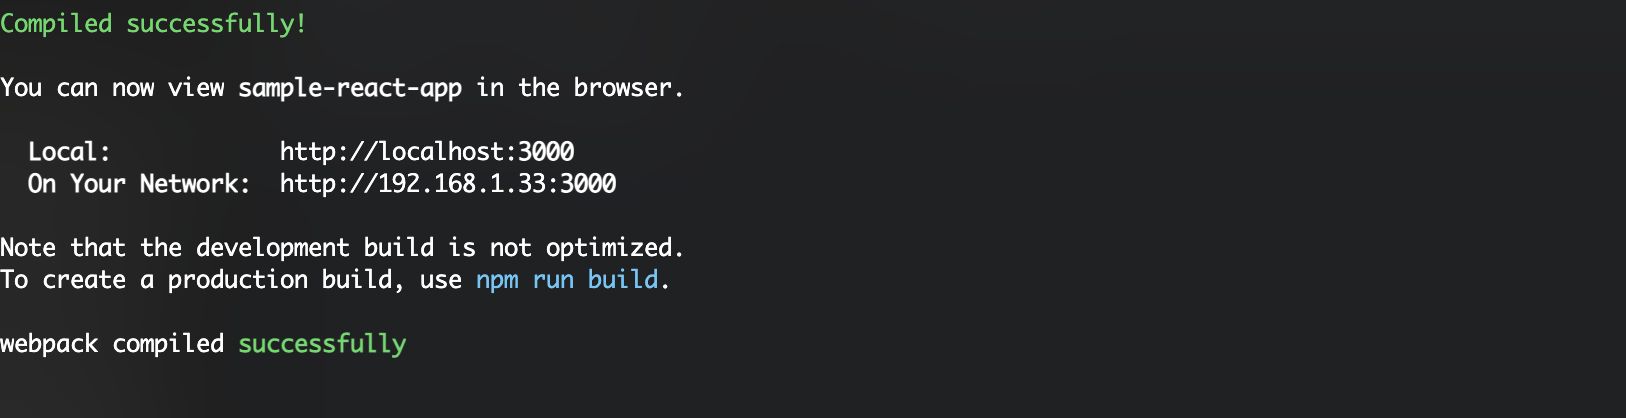
npm run start
You should soon see that your react application is running at http://localhost:3000
Now that we know that the application is running ok, we need to dockerize it before we can deploy it on minikube.
Dockerize react application
In this section, we will create a Docker image of our React application and push it to a Docker Hub account.
Before we can proceed, you need to log in to your Docker Hub account.
To do so, run the following command:
docker login
Next, we will create a Dockerfile in and paste the following code in it:
FROM nginx:stable-alpine

COPY build/ /usr/share/nginx/html
This copies the build directory into /usr/share/nginx/html so that nginx can serve our pages.
Let's go ahead and create a build directory! This is the production-ready build of the react app we just created.
# Make sure you're in the sample-react-app folder
npm run build
You should see a build folder created. Now we are good to go and create a docker image.
docker build -t <docker-user>/sample-react-app .
Replace <docker-user> with the docker username that you used to log in to Docker Hub earlier.
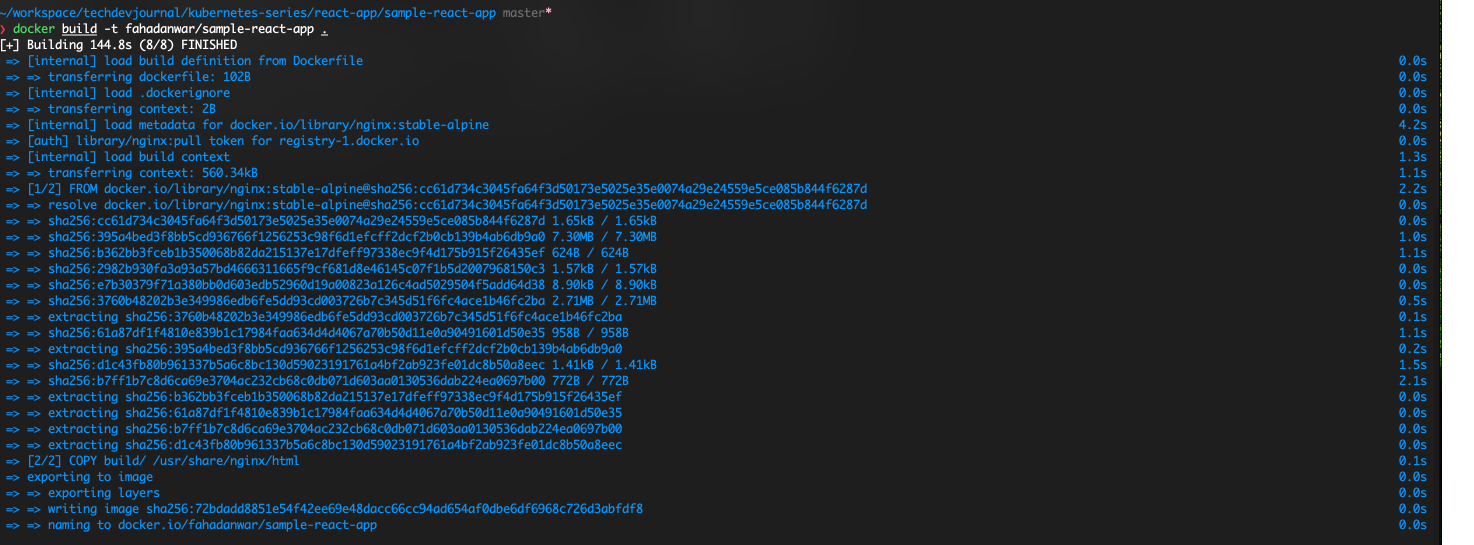
Wait a couple of secs until the docker image gets built, scroll tik-tok or reels or whatever you're into these days.
Once the image is built, now we have to push it to Docker Hub.
docker push <docker-user>/sample-react-app
Replace <docker-user> as you did before and the push should be done.

Deploy to Kubernetes
Now comes the part that you were eager to get your hands on! Let's get started by creating deployment.yaml file in the k8s folder we created earlier
apiVersion: apps/v1
kind: Deployment              # This denotes that it's a Deployment
metadata:
  name: sample-react-app      # Name of the deployment
spec:
  replicas: 2                 # 2 Pods will be created.
  selector:
    matchLabels:
      app: sample-react-app
  template:
    metadata:
      labels:
        app: sample-react-app
    spec:
      containers:             # Pod container specification
      - name: sample-react-app
        image: <docker-user>/sample-react-app
        ports:
        - containerPort: 80   # Port which will be exposed
Replace <docker-user> as you did before and save the file.
Run the below command to deploy the application.
kubectl apply -f deployment.yaml

To check the deployment, run the below command and you should see the deployment with READY 2/2, which means 2 pods are Ready
kubectl get deployment

For more info, you could also run kubectl get pods and get details of the individual pods themselves and check if STATUS is Running.

Now, the Deployment makes sure that we have the specified number of pods running. So in case a pod is deleted, a new one is created. That is great! , but leaves us with a problem -- How would we connect to these pods in a simple way? We would have to know the pod's IP and if the pod is replaced with a new one. To make our lives easier Kubernetes has Service. A Service provides an abstract layer on top of pods, so all we would need is the name of the service to call our applications.
Let's go ahead and create a NodePort Service for these pods. We'll call it service.yaml
apiVersion: v1
kind: Service
metadata:
  name: react-service
spec:
  type: NodePort
  selector:
    app: sample-react-app # Name of the application.
  ports:
      # By default and for convenience, the `targetPort` is set to the same value as the `port` field.
    - port: 80
      targetPort: 80
      # Optional field
      # By default and for convenience, the Kubernetes control plane will allocate a port from a range (default: 30000-32767)
      nodePort: 31001
Now, let's bring this Service up by running
kubectl apply -f service.yaml

Let's check the service
kubectl get services

We can see that react-service is created.
See it in action!
Now that we have defined and run a deployment and a service, let's see how we can access this application.
Minikube gives us a nice little command which
minikube service react-service --url

Paste the URL from that command's output onto the browser and see the application running!
Scale it
You can see that 2 pods are running your application. What if you get unexpected traffic and you want to scale your application using kubernetes?
Sounds scary and probably difficult to do it. Not really, kubernetes has a single line command to add more replicas of your application in the cluster.
kubectl scale deployment sample-react-app --replicas=5
Kubernetes gets to work right away, adding new pods as soon as you hit the command. Don't believe me? Check it for yourself.
Run kubectl get pods in your terminal to check the number of pods. And sure enough, there are 3 additional pods added to get a total of 5 replicas.

Ok, so you have handled the large traffic and you can see the traffic reduced to normal levels. You can run the same command (change to --replicas=2) and see that number of pods has changed to 2.

And that's a wrap for this tutorial. Hope you enjoyed it as much as I did writing this and learnt a thing or two.
Please let me know in the comments if you face issues while running any of these commands, especially when you try to access your application in the browser. I'll try to sort out your issues and help you out!
This tutorial covered the below questions.
How to install kubectl?
How to install minikube?
How to create a react app using create-react-app?
How to dockerise a react app?
How to create a deployment in kubernetes?
How to create a NodePort service in kubernetes?
How to access applications using minikube?
How to scale application in kubernetes?
Next, we'll cover more on ingress and ingress controllers in the next section of this series.